On this page
You might spend an hour making a high-gain guitar sound huge by itself, only to hear the riff disappear when the bass, drums and other instruments join in. To keep high-gain guitars clear in a full mix, start with a solid performance and a clean DI, then choose your amp and cabinet sound while the rest of the arrangement is playing. When those basics work together, EQ can refine the recording without having to compensate for problems further back in the chain.
Not every distorted guitar needs to sound polished. A rough, loosely played riff can have plenty of character, and sometimes leaving it alone makes the song feel better. Problems start when clipping, tuning issues or overlapping takes are mistaken for character, because those problems become much harder to separate once the arrangement gets busy.
Get the Performance Right Before Touching the Amp
A guitar might sound in tune on open strings but still go sharp with hard picking or play out of tune higher up the neck. Try playing the real chords and fretted notes you plan to record, and play the toughest part at full intensity. This gives you a better sense of tuning, unwanted resonance and pick control than softly testing a few notes before recording.
Picking and Muting Change What the Microphone or DI Captures
Where your palm sits changes the note before any amp or plugin does:
- Closer to the bridge: the note keeps more ring and pitch definition.
- Slightly toward the neck: damping increases and the note gets shorter.
- Pressure and contact: how hard you press and how much of your hand touches the strings also change the result.
Try a few positions before reaching for the amp controls. In fast-picked passages, how notes end is just as important as how they start, since a ringing string beneath the next chord can blur a clear riff into a wash of distortion.
When a part sounds smeared, there are three useful places to look before changing EQ:
- Strings ringing through a rest: Check whether your fretting or picking hand has left an open string sounding beneath the next chord. If it's a stray note, fix the muting or edit the take.
- Palm mutes that run into the next kick: Listen to the release of the note, not only to the moment your pick hits the string. A slightly shorter stop may clear the groove without changing the tone.
- Pick attacks that change dramatically between takes: Compare your hand position, picking strength and angle before adding presence or compression to compensate.
You don't have to make every attack exactly the same, because a little variation between takes can give a guitar part its natural movement. How much you leave in depends on the song: a slow, loose riff has room for small differences, while a stop-start passage locked to a busy kick pattern will expose late note endings much sooner. Make that decision while you're recording, since a gate can't tell the difference between a note you meant to leave ringing and one you forgot to stop.
Record a Dry DI You Can Use Again
A dry DI is the guitar signal recorded before any amp or cabinet effects. It won't sound like a finished distorted guitar on its own, but saving this signal lets you try different amps, pedals or cabinets later without making the guitarist redo a good take.
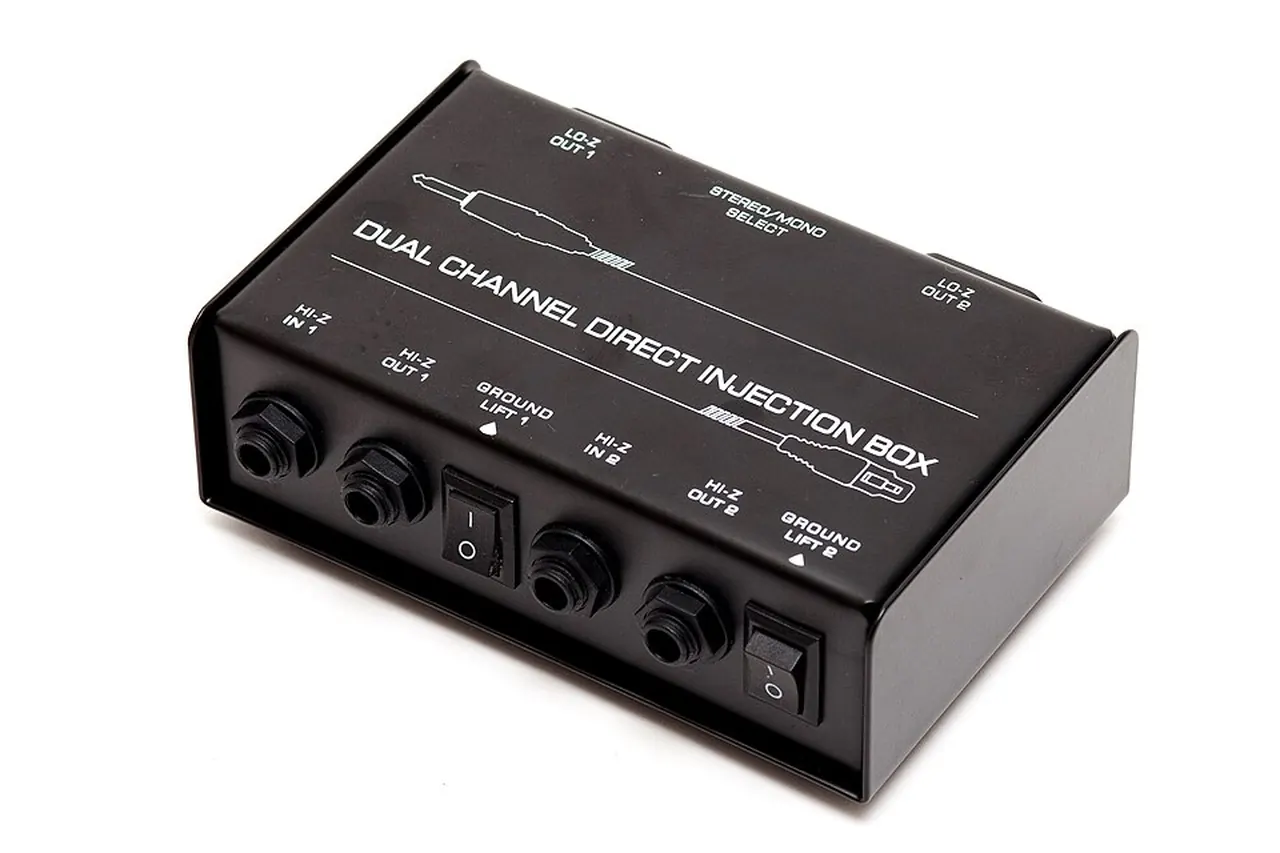
When using an amp simulator, you usually plug the guitar into the interface's instrument input, record the dry signal in your DAW, and put the amp and cabinet models on the monitoring path. Every DAW handles input monitoring a little differently, so it's better to check your recorded file than to assume you're getting a dry track just because you hear distortion while playing.
For a first session, use this order:
- Plug your guitar into an instrument or Hi-Z input. Passive pickups can behave differently with a line input, so the input type matters for both level and tone. Play hard palm mutes and full chords when checking the recording level, and leave enough headroom for the loudest attacks.
- Listen to the processed sound while recording the dry input. If you can, keep the amp and cabinet effects on the monitoring or playback path, but don't record them into the DI file.
- Record a short test and turn off the processing. On playback, you should hear the raw guitar. Check the interface and DAW input meters for clipping, rather than relying on the waveform display alone.
Interface Gain, Plugin Input and Amp Gain Aren't Interchangeable
The interface's gain control adjusts the signal before it's converted to digital, while the amp simulator's input control changes the level feeding the model after conversion. The amp's gain or drive affects distortion, and its output control sets the level leaving the model. If you treat all these controls like one volume knob, it gets hard to tell why your tone changed.
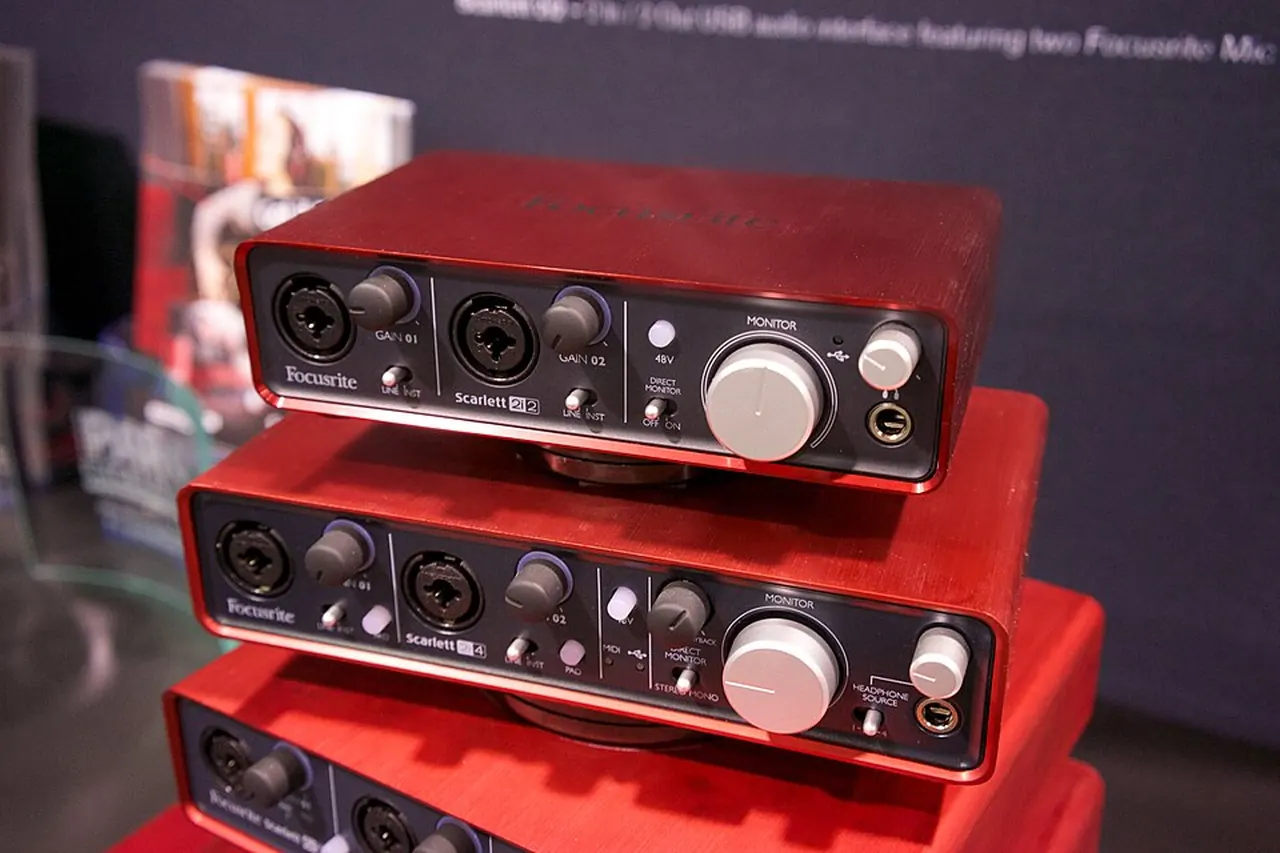
Leave enough recording headroom, then follow the amp-simulator maker's input-level guidance. Neural DSP's setup tips, for example, recommend setting the interface's Hi-Z gain to its minimum and using the plugin's global input knob to fine-tune the level. A DI can be safely below clipping and still feed a particular model harder than intended.
If your interface recorded a clipped signal, lowering the DAW track fader won't fix it, and turning up the amp simulator's output won't recover detail lost in a clipped DI either. If the DI is clean but the amp reacts too aggressively, adjust the level feeding the model or its drive control. Change the interface gain when the recording level itself needs correction, aiming for both a sufficient signal-to-noise ratio and adequate headroom.
Recording a real amplifier adds another decision. A suitable DI split can preserve the original performance alongside the microphone, but hardware reamping needs the correct level and impedance arrangement. Never connect an amplifier's speaker output directly to an interface input, and a valve amp must always have the load required by its manufacturer.
Dial In Distortion With the Drums Playing
A high-gain sound that sustains beautifully through a single chord can become muddy when a busy drum part starts underneath it. As distortion increases, pick attack and the spaces between notes can blur, even though the guitar may sound heavier on its own. Setting the amp with the busiest riff playing gives you a better idea of how that distortion will behave in the song.
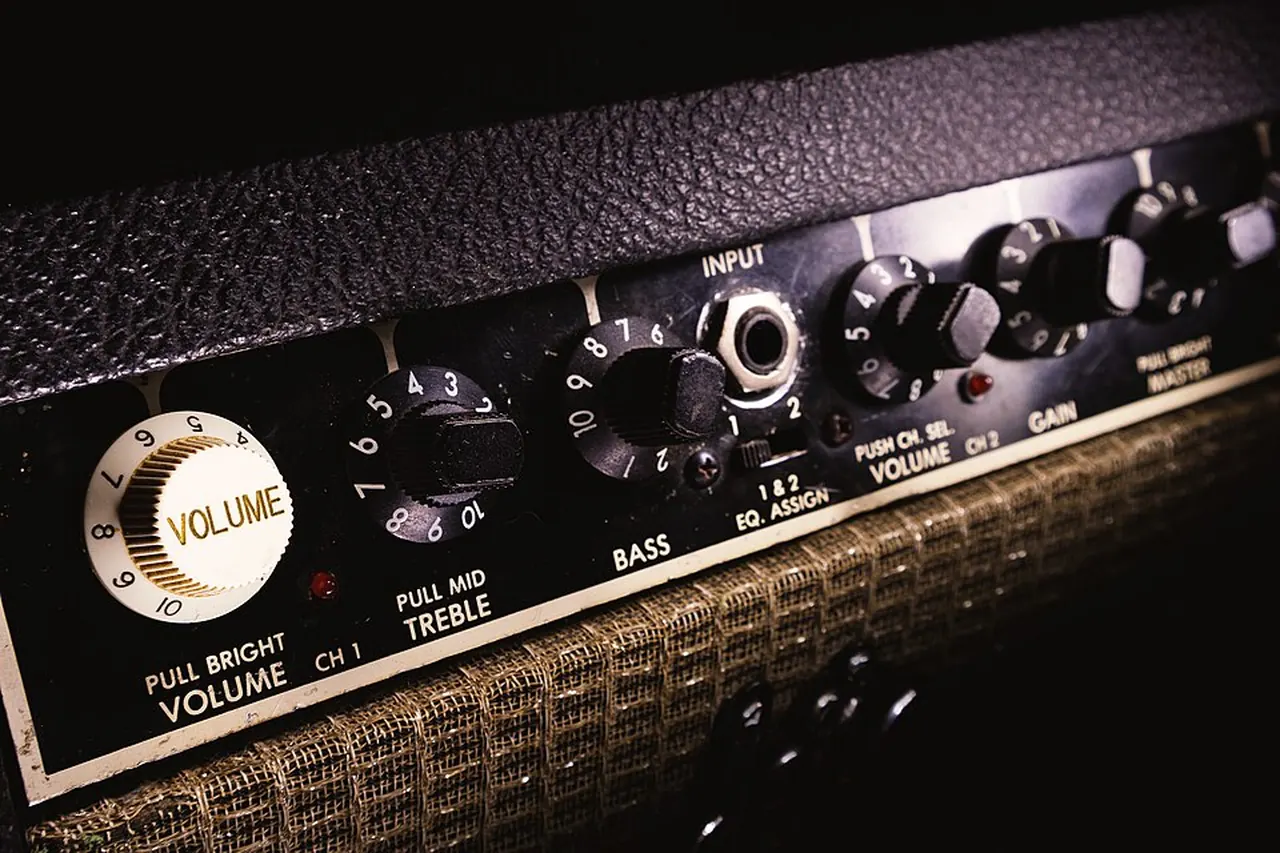
Bring up the guide drums and bass, play the riff, and lower the amp gain to compare attack and note separation. Match the listening levels as closely as you can before deciding, because the louder version can seem better even when the extra distortion is making the riff less clear. Sometimes a cleaner setting makes the guitar sound smaller alone but gives the whole rhythm section more room.
What a Boost Pedal Changes Before a Distorted Amp
Putting an overdrive before a high-gain amp can tighten the sound by changing the level and frequency balance going into the amp. Depending on the pedal, lowering its drive and raising its level can stop loose low end from taking over and make pick attack clearer. This isn't a one-size-fits-all setting, though, because two pedals with similar names can shape your sound in different ways.
If your song moves from fast riffs into long, ringing chords, compare boosted and unboosted sounds in both sections. The tighter sound that works for a fast, low-string riff might take away some of the feel or weight you want in a sustained part. You might use one setting for the whole song, switch sounds for different sections, or decide the looser tone fits better.
Choose the Cabinet Tone Before You Start Carving EQ
The cabinet plays a big role in whether a distorted guitar sounds thick, harsh, dark or clear next to cymbals. A cabinet impulse response (IR) captures the measured response of a particular speaker and microphone setup, including the recording chain. Changing the IR can reshape the guitar's low-mids and highs without changing the amp settings, although a conventional IR doesn't capture every nonlinear or level-dependent behavior of a physical speaker.
If the guitar feels woolly with the bass or disappears beneath the overheads, try a different IR before drawing several narrow EQ cuts. If the cabinet already works for most of the song and only a small area needs attention, a modest EQ correction may be the better choice, so hear the alternatives before you commit.
What Moving a Real Microphone Can Change
When close-miking a speaker, pointing the mic closer to the center usually picks up more upper-mids and treble than aiming at the outer cone. Sound On Sound's guide to recording guitar speakers describes the same pattern: the center of the cone gives the brightest sound, and moving toward the edge tames the highs. Angle, distance and the specific speaker also matter, and even small movements can make an audible difference.
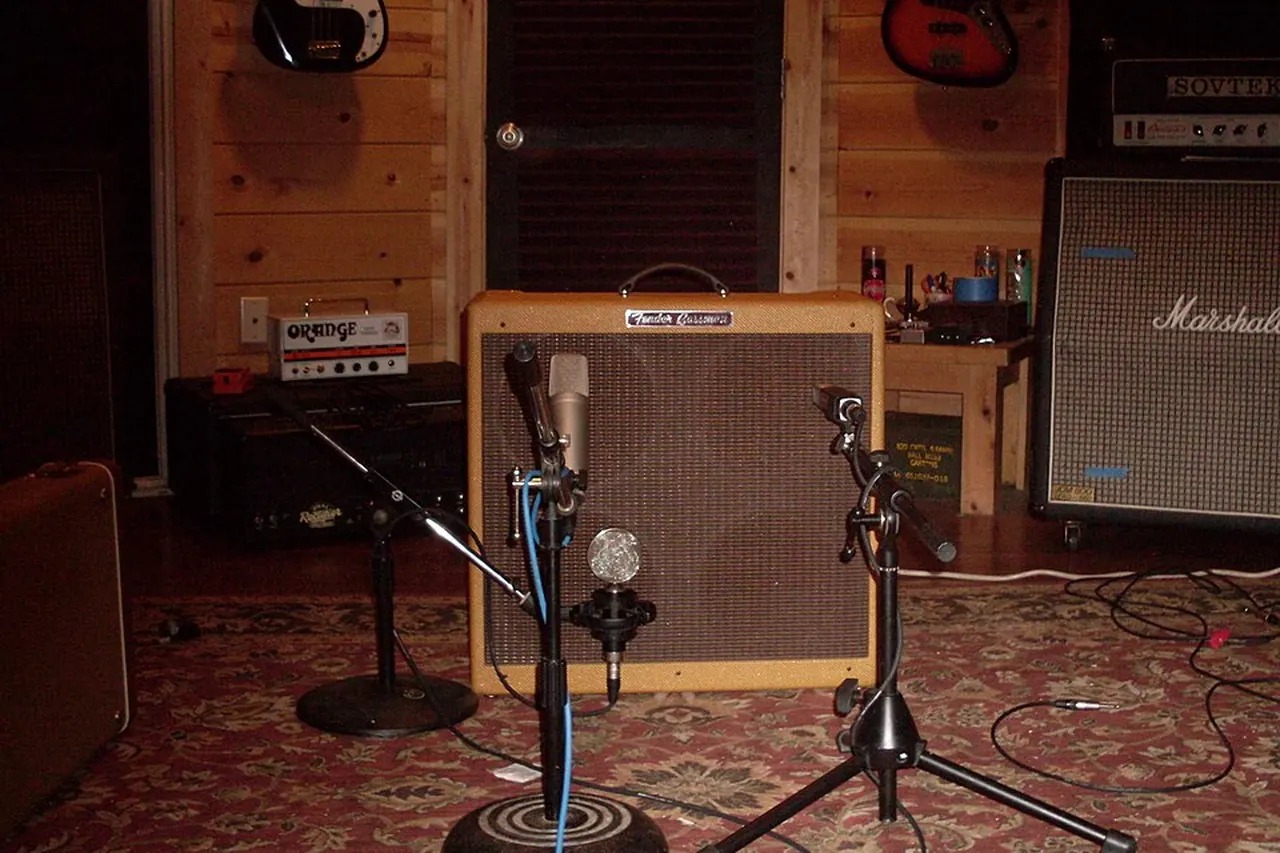
Monitor the actual mic signal, preferably alongside the arrangement, and keep adjusting until you capture a sound you can work with. You'll often learn more from a few careful placements than from adding another processor after a poor capture.
When Two Microphones or IRs Make the Guitar Thinner
Blending two cabinet sounds can create a tone you can't get from either one alone, but their timing and phase can also cancel important frequencies. If your guitar loses body when you add the second source, listen to each one by itself, then compare the blend at the same volume. Check their alignment and polarity instead of assuming two mics or IRs will always sound bigger than one.
How Many High-Gain Guitar Takes Do You Need?
To get a wide rhythm sound, start with two separate takes panned left and right. The small differences between them add width, while tight timing and phrasing keep the riff clear. Copying one mono take to another track and panning them won't give you the same width, since both speakers are playing the same thing.
| Recording Approach | What It Can Give You | What Can Go Wrong |
|---|---|---|
| One rhythm take | A focused, direct guitar sound | Too narrow for an arrangement built around wide guitars |
| Two separate takes | Width and density with relatively clear articulation | Different tuning, mismatched stops or inconsistent phrasing |
| Four separate takes | A thicker wall or contrasting guitar colors | Low-mid buildup and extra timing differences that hide individual notes |
Before you decide the song needs four takes, get the first pair working well with the bass and drums. A late palm-mute release is often easier to hear than a late pick attack, especially if the next kick drum lands during that extra note, and redoing a weak take can improve the riff more than adding another layer.
Match the Editing to the Song
An intricate arrangement with fast stops and tightly synchronized drums may need careful attention to note endings, along with a few well-chosen edits. A slower, rougher song may feel better with some movement between the left and right guitars, provided that movement doesn't hide the riff or pull attention away from it. The recording only needs to be as tight as the music asks for.
You can also go for a narrower guitar sound if it makes the arrangement feel stronger. If you have several distorted layers in the same range, listen to the whole part in mono before adding another pair, because extra width in headphones can hide a muddy center or problems between the combined sounds.
Why the Guitar Gets Muddy Once Bass and Drums Enter
Distorted guitars, bass and kick drum all share some of the same low and low-mid frequencies, so a cabinet that sounds heavy on its own can end up crowding the mix. Work through the likely causes in this order:
- The balance between guitars, bass and kick.
- The cabinet response.
- The amp settings.
- How long the guitar notes last.
Only make a permanent EQ cut after you know the unwanted frequencies are present throughout the part, not just on a couple of palm mutes. The same order of checks works for the whole song, which we cover in why your mix sounds muddy.
Fix the Cause Before Choosing an EQ Cut
If your open chords sound good but one group of palm mutes is too boomy, check how you're playing those notes and how long they ring out. Cutting frequencies to fix the palm mutes might make the rest of the riff sound thin. If the issue happens with every chord, changing the cabinet or making a broad EQ adjustment will give a cleaner result than fixing each note one by one.
High-pass filtering needs just as much care. The best cutoff point depends on your tuning, cabinet response, filter slope and the bass part underneath, so adjust it with the rhythm section playing. Once the unwanted low end is gone, stop raising the cutoff, because going higher might take away some of the guitar's body.
| What You Hear | Check First | Compare Next |
|---|---|---|
| Only some palm mutes boom | Note length, picking and amp response | A targeted fix versus a permanent low-mid cut |
| Guitar disappears beneath cymbals | Cabinet upper mids and the balance between guitars and drums | A different IR versus a large treble boost |
| A wide pair sounds soft and blurry | Timing and release of both takes | Redoing or editing a weak take before adding tracks |
| Two IRs together sound thinner than either alone | Alignment, relative polarity and level | Each IR alone versus the blend |
| Guitar sounds heavy alone but crowded with kick and bass | Instrument balance and cabinet voicing | Small mix adjustments before drastic EQ |
If your recording sounds rough but the notes are still clear with the full band, you don't need to fix every uneven frequency. The goal is to figure out whether the song needs a tonal change or whether the guitar is already working in the mix.
Control Noise Without Chopping Off the Riff
A high-gain setup can bring out pickup hum, amp hiss and stray string noise along with your notes. Each of these noises has a different cause, and a noise gate can't fix a bad cable or replace good hand muting, but it can help reduce noise during rests when everything else is working as it should.
Let the Quietest Intentional Notes Finish
Set your noise gate while playing the quietest part that needs to be heard, not just the loudest palm-muted section. A threshold that works for heavy attacks might miss a quieter verse or intro, and a release that's too fast can cut off the end of a sustained or quietly picked phrase. Sometimes lowering the gate's attenuation or adjusting its release sounds more natural than trying to make every gap completely silent.
It's also fine to leave some noise in an atmospheric part if it fits the sound you want. If your song has a few clear breaks, short edits and fades can give you cleaner transitions than one strong gate setting for the whole track. Listen to the last note before each silence and make sure it ends where the music calls for it, not when the processor mistakes it for noise.
When your tracks are ready, play the busiest part with bass and drums, then check it in mono. Make sure the riff is still clear, the DI isn't clipping and the quietest notes you want are still there. Once that's sorted, you can shape the guitar sound further in the mix without dealing with problems that should have been fixed earlier.
Image credits
- Sovtek MiG-60 Lead Tube Amplifier head & Marshall cab: Roadside Guitars, CC BY-SA 2.0, Wikimedia Commons. Cropped and resized by KRIG Audio.
- DI Box 8121: Ashley Pomeroy, CC BY-SA 3.0, Wikimedia Commons. Cropped and resized by KRIG Audio.
- Focusrite Scarlett 2i2, 2i4, 6i6 USB2.0 Audio Interfaces with Focusrite Mic Preamps - 2014 NAMM Show: Matt Vanacoro, CC BY 2.0, Wikimedia Commons. Cropped and resized by KRIG Audio.
- Guitar Amplifier Details (51883980298): Dejan Krsmanovic, CC BY 2.0, Wikimedia Commons. Cropped and resized by KRIG Audio.
- Fender Bassman miked up from front, Recording Fischer, Compound Recordings, January 2008: Roadside Guitars, CC BY-SA 2.0, Wikimedia Commons. Cropped and resized by KRIG Audio.
Questions on this topic
Keeping a dry DI gives you the option to change the amp, cabinet or pedal sound later without replaying a good performance. Record the unprocessed guitar signal while monitoring through the amp simulator, then bypass the effects on a short test recording to make sure your DAW really captured the dry input.
Distortion, cabinet low-mids and long note releases can make guitars compete with bass and kick, even when the guitar sounds strong alone. Check the instrument balance and cabinet response with the arrangement playing. If only certain palm mutes boom, look at how those notes are played before cutting frequencies from the entire guitar part.
Two separately recorded takes panned left and right are a useful starting point for a wide rhythm sound. Four takes may add weight or contrasting tones, but they can also make fast riffs harder to distinguish. If two takes already support the song, extra tracks aren't automatically an improvement, and a single centered take may suit a different arrangement better.
There isn't one cutoff that fits every guitar, tuning or bass arrangement. Listen with the rhythm section playing and raise the high-pass filter only as far as needed to remove unwanted low-frequency energy. Check the filter slope as well, and back off if the guitar starts losing the body the song needs.