On this page
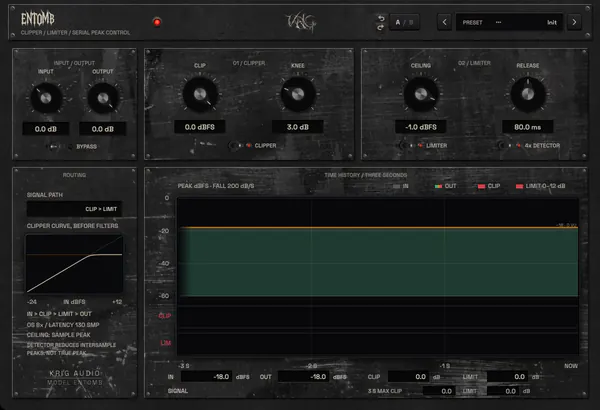
Sometimes one snare hit stands out far more than the rest of your drum bus, even when the groove feels balanced. You can control that peak with either a clipper or a limiter. A clipper changes the signal with a nonlinear amplitude curve, while a typical limiter manages the peak with a time-based gain envelope, so although both alter the waveform, each one affects the attack and the sounds around it in its own way.
If only a few snare hits are too loud, try taming those peaks on the snare track itself before you touch the whole drum bus. A clipper can make the groove feel punchier and a limiter might sound smoother, but you can only tell which works by listening with the bass and cymbals playing.
What Clipping Does to a Transient
A clipper controls the amplitude of a waveform with a nonlinear curve. When a quick snare hit goes over its threshold, the clipper reshapes that part of the waveform, which lowers the peak and changes the sound at the same time. How noticeable that is depends on the audio, how hard you push the clipper and the curve it uses.
Unlike a standard limiter, a simple clipper doesn't have to recover from a peak over a few milliseconds. That helps when a single drum hit is much louder than the rest, but if you flatten too much of the attack, the drum can end up sounding smaller instead of more powerful.
Hard Clipping and Soft Clipping
A hard clipper cuts off signal values past a set point and leaves a sharp corner in the waveform. That corner adds harmonics, and the more you clip, the more obvious the distortion becomes. On a snare a little clipping can add some edge, while too much can make it sound thin or harsh.
Soft clipping shapes the waveform more gently near its threshold. Depending on the curve, it can sound smoother and start affecting the signal before it reaches a hard limit. "Soft" describes the curve itself, though, and doesn't promise that the sound will be clean or free of artifacts.
Why Clipping Can Change More Than the Attack
On a dense guitar bus or a long bass note, the signal can stay in the clipping range far longer than a quick snare hit does. Instead of trimming peaks, you're reshaping a much bigger part of the sound, so the distortion and the change in tone are easier to hear.
That's why a clipper that sounds good on single drums is harder to use on a full mix. Cymbals, vocals and bass all add to the waveform being clipped, even if you started with only the snare in mind, and in a complex mix the clipping also creates new interactions between frequencies, so the changes go beyond adding harmonics to each instrument.
How a Limiter Controls Peaks
A limiter usually watches the incoming signal and reduces the gain when the level gets close to a set ceiling. Because its detector and gain envelope work over time, it may turn down more than the peak itself, and how much of the nearby audio it affects depends on its design and settings.
Some limiters are built to control peaks transparently, while others add their own character or use clipping-like stages inside. You can't assume a limiter will sound smooth or that a clipper will sound harsh.
Lookahead, Attack and Release Change the Result
Lookahead
Lookahead lets a limiter see a peak before the audio reaches its gain stage, usually by delaying the signal slightly. This helps it catch fast transients without sudden gain changes, although longer lookahead can change how the attack feels and adds latency.
Release
Release controls how quickly the gain comes back after a peak. If it's too slow for the song's rhythm, a loud snare can keep the next kick, bass note or room sound quieter, which you hear as ducking or pumping. If it's too fast, quick gain changes can cause distortion or unwanted movement, especially on long bass notes.
Some limiters handle these steps automatically, and their attack or release controls may not behave like the ones on a regular compressor.
You can hear the difference most clearly in the notes right after the loudest hit. If the snare sounds fine but the bass or the room ducks behind it, the limiter is reacting to more of the mix than you intended.
Clipper vs. Limiter on Drums, Bass and Full Mixes
A clipper suits short, isolated peaks, and a limiter suits jobs where you want smoother gain changes. Some limiters shape transients and some clippers are more advanced, so the line between them can blur.
| Source or Problem | What a Clipper May Do | What a Limiter May Do |
|---|---|---|
| Snare peaks above the drum bus | Shave brief peaks and add edge | Control the peaks with a gain envelope that may affect nearby sounds |
| Kick with a long low-frequency tail | Distort more of the low waveform if driven hard | Reduce peak level, but release may change the following groove |
| Sustained bass or synth | Add harmonics and change the tone | Control level movement with less intentional harmonic coloration |
| Dense stereo mix | Reduce short peaks before more level is added | Manage remaining peaks, with results depending on style and true-peak mode |
The table shows typical behaviour rather than a strict guide for picking plugins. A bass with a bright, distorted layer might sound better clipped, for example, while a snare that's already harsh might be best left alone or handled with a limiter.
On Drums, Listen Past the Loudest Hit
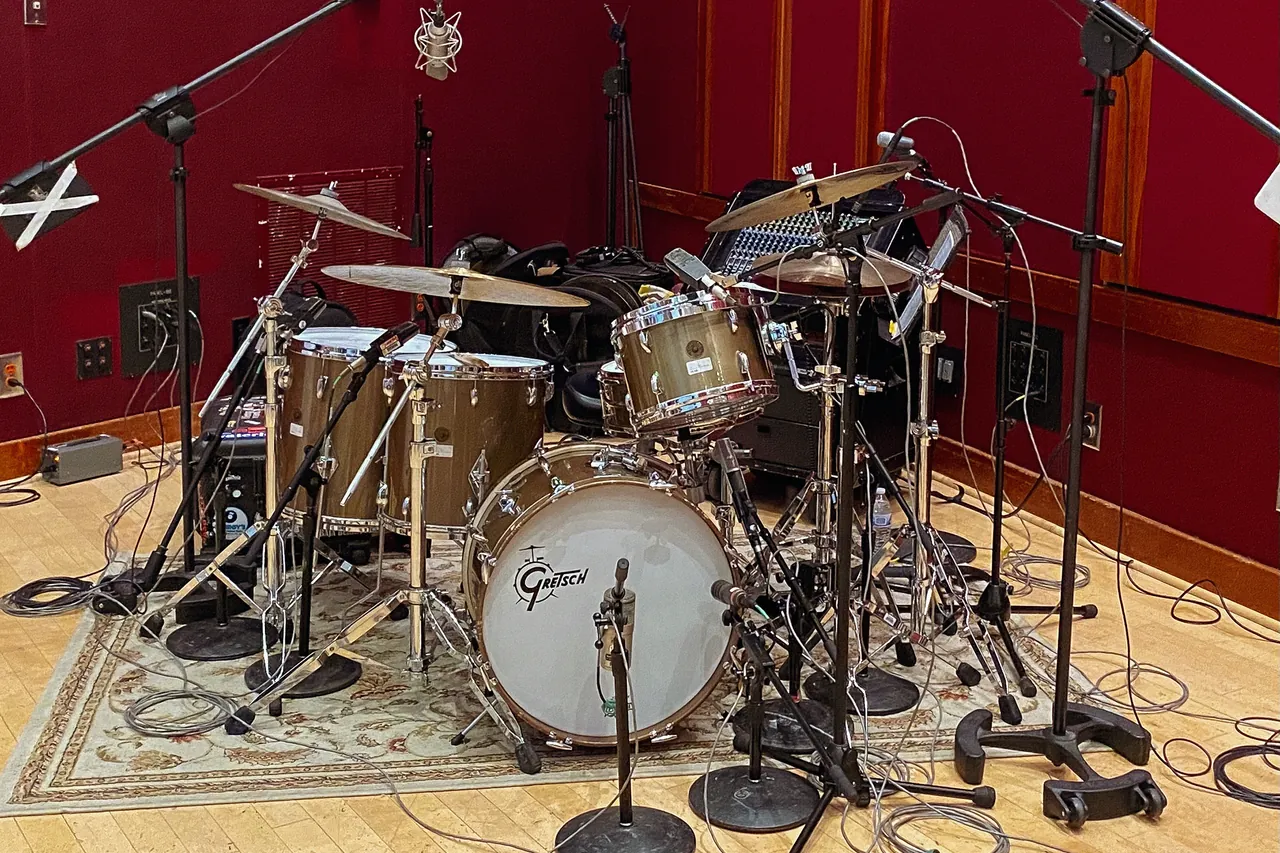
If one snare peak is making your drum bus limiter work harder than it needs to, try gentle clipping on the snare track to ease the load. Listen to the snare's body and to how the cymbals fade after each hit, because those are the parts that change without drawing attention to themselves.
Then listen to the drum bus again. Lowering the snare's peak on its own track doesn't always give the same result once everything is playing together or after more processing.
A limiter might be the better option if the drum balance shifts over a longer section and you want to keep it steady. It also stops you from reaching for a clipper only because the snare looks tall in the waveform display.
On the Mix Bus, Ask What You're Sacrificing
If your mix is already balanced and only a few transients stand out, gentle peak reduction can help you reach your final level. Push either processor too hard and it will change the music, and you'll usually hear that first in the cymbals, the stereo image or how the hits compare with each other.
A sparse acoustic track has fewer layers to mask clipping distortion, while a dense electronic or guitar-heavy mix can often hide more. That doesn't mean one style always needs clipping and another should skip it: the same processing might go unnoticed in a busy chorus and sound bad in a quiet intro.
Should You Put a Clipper Before a Limiter?
A clipper before a limiter can help when a few quick peaks are making the limiter pull the gain down across the whole mix. Weigh both sides before you add the second stage:
- What it can help with: the clipper takes the fastest peaks first, so the limiter can do its job with smaller gain changes.
- What it costs: any distortion from the clipper stays in the signal going into the limiter. The limiter can't bring back the original shape of a clipped transient, and it may respond differently to the changed waveform.
Start With the Problem, Then Choose the Chain
If the snare alone is making the limiter react, fix it on its own track before you process the whole mix. That solves the problem at its source and leaves the vocals, guitars and cymbals untouched.
If several sounds are causing short peaks in the finished mix, compare gentle clipping into a limiter with the limiter on its own. Use both only if the result sounds better, not to fill plugin slots.
When the Chain Makes Things Worse
Adding a clipper can make the limiter's gain-reduction meter look calmer even while the sound gets harsher. The peaks were already changed before they reached the limiter, so its meter can't show the distortion added earlier.
Every extra processor is also one more place where an accidental input or output gain change can throw the comparison off. If the extra stage doesn't sound better at the same loudness, take it out and keep the simpler setup.
Oversampling and True Peak Limiting Solve Different Problems
Clipping adds new frequencies, and some of them can fold back into the audible range as aliasing if the processing doesn't run at a high enough sample rate. Oversampling helps by processing at a higher rate and filtering before the signal returns to your session's rate.
Oversampling doesn't remove the harmonics that clipping creates, and it won't make a heavily clipped mix sound clean. It also costs more processing power, so the right setting depends on the plugin and on whether you're working live or exporting a final file.
| Question | Oversampling | True-Peak Limiting |
|---|---|---|
| What it addresses | Aliasing from nonlinear processing, and the higher inter-sample peaks it causes | The level of the waveform between samples, held under a set ceiling |
| What it doesn't do | Remove the harmonics clipping adds, or set an output ceiling | Undo distortion that earlier stages added |
| How to check it | Listen for harsh, inharmonic artifacts on bright material | Measure the rendered file with a true-peak meter |
A Sample-Peak Ceiling Is Not a True-Peak Ceiling
A sample-peak meter shows the values stored in your audio file. A true-peak meter estimates the highest points of the waveform between those samples, which can be higher even when no sample reaches 0 dBFS, and that matters most after heavy processing or format conversion.
An oversampled clipper isn't the same as a true-peak limiter. If you need to meet a true-peak ceiling, use a true-peak limiter near the end of the chain, or leave enough headroom and check the final file with a true-peak meter. Later gain changes, filtering, sample-rate conversion or lossy encoding can all move the peaks, so check the final format whenever you can.
FabFilter's Pro-L 2 manual treats oversampling and true-peak limiting as separate features, which helps when you compare plugins. It explains that oversampling reduces the aliasing that produces higher inter-sample peaks, while true-peak limiting holds the output under a set ceiling, and it recommends using the two together. Their effects overlap, but neither one makes a song sound better because you push it harder.
How to Compare a Clipper and a Limiter Fairly
First decide what you want the comparison to tell you. If you're comparing peak control, aim for a similar amount of peak reduction or the same output peak target, then match the playback loudness. For mastering chains, aim for the same final loudness and true-peak ceiling. Either way, keep the source and routing the same, listen closely to the attack, the body and the audio around each hit, and watch the meters.
- Pick a demanding section with clear kick and snare hits, some sustained instruments and a quieter part close by. Keep the source, routing and other processors the same.
- Start with a single clipper and reduce only the peaks that stick out above the main sound. Note the new peak level, then adjust the playback gain so the comparison is fair.
- Turn off the clipper and put a limiter on the same section. Set a similar peak target, match the playback loudness, and listen for changes in the attack, the next note and any artifacts in the cymbals or vocals.
- If you're comparing mastering chains, match the final loudness and true-peak ceiling before you judge limiting alone against light clipping followed by limiting. Check whether the second stage improves the sound or only makes the meters look better.
- Measure sample peaks, true peaks and loudness on the rendered track with the right meters. Check the quieter parts too, since a setting that works for the loudest chorus can sound harsh when the music drops back.
If both processors give you the same result at that level, keep the simpler setup, or leave the peaks alone if the song already has enough headroom and sounds right. When the low end is part of the peak problem, high-pass filtering every track is rarely the answer either, because a filter doesn't reliably lower the peaks you see on the meter.
Image credits
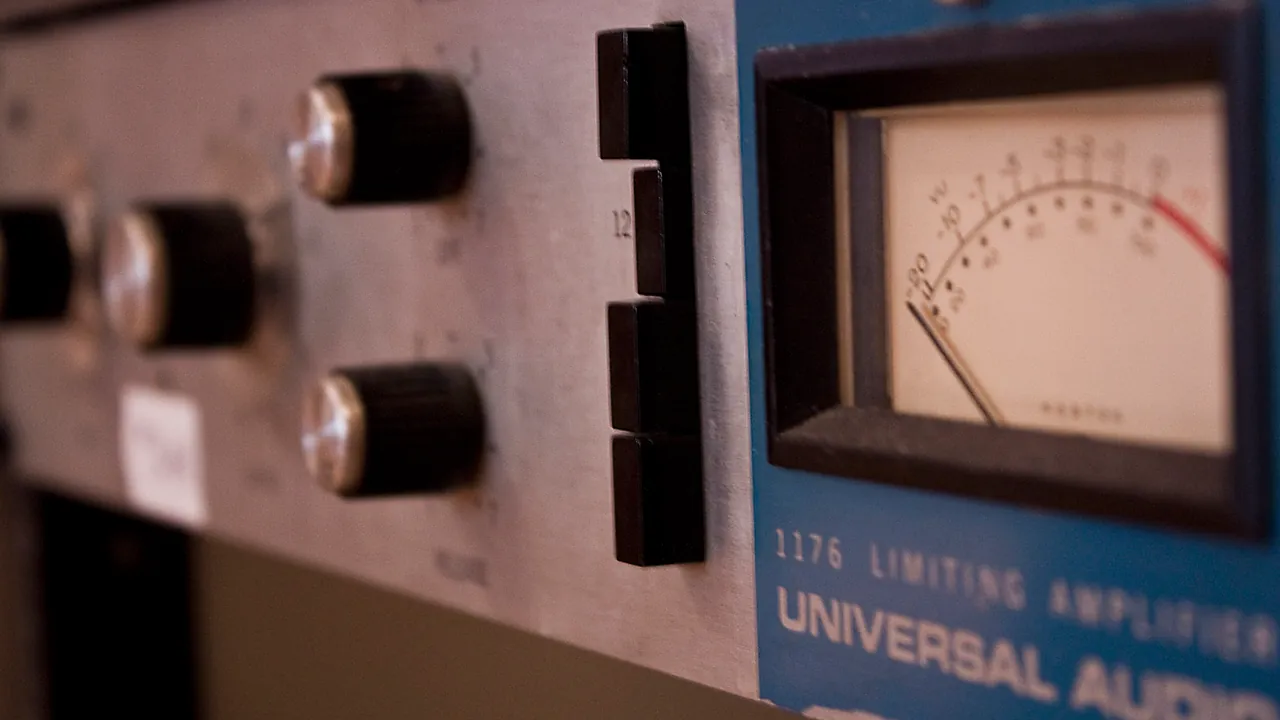
- UA LA1176 Rev.A (Universal Audio Limiting Amplifier), 1093 Studios, Athens, Georgia: John Tuggle, CC BY 2.0, Wikimedia Commons. Cropped and resized by KRIG Audio.
- Blackbird Studio A, drum recording: The Blackbird Academy, CC BY-SA 2.0, Wikimedia Commons. Cropped and resized by KRIG Audio.
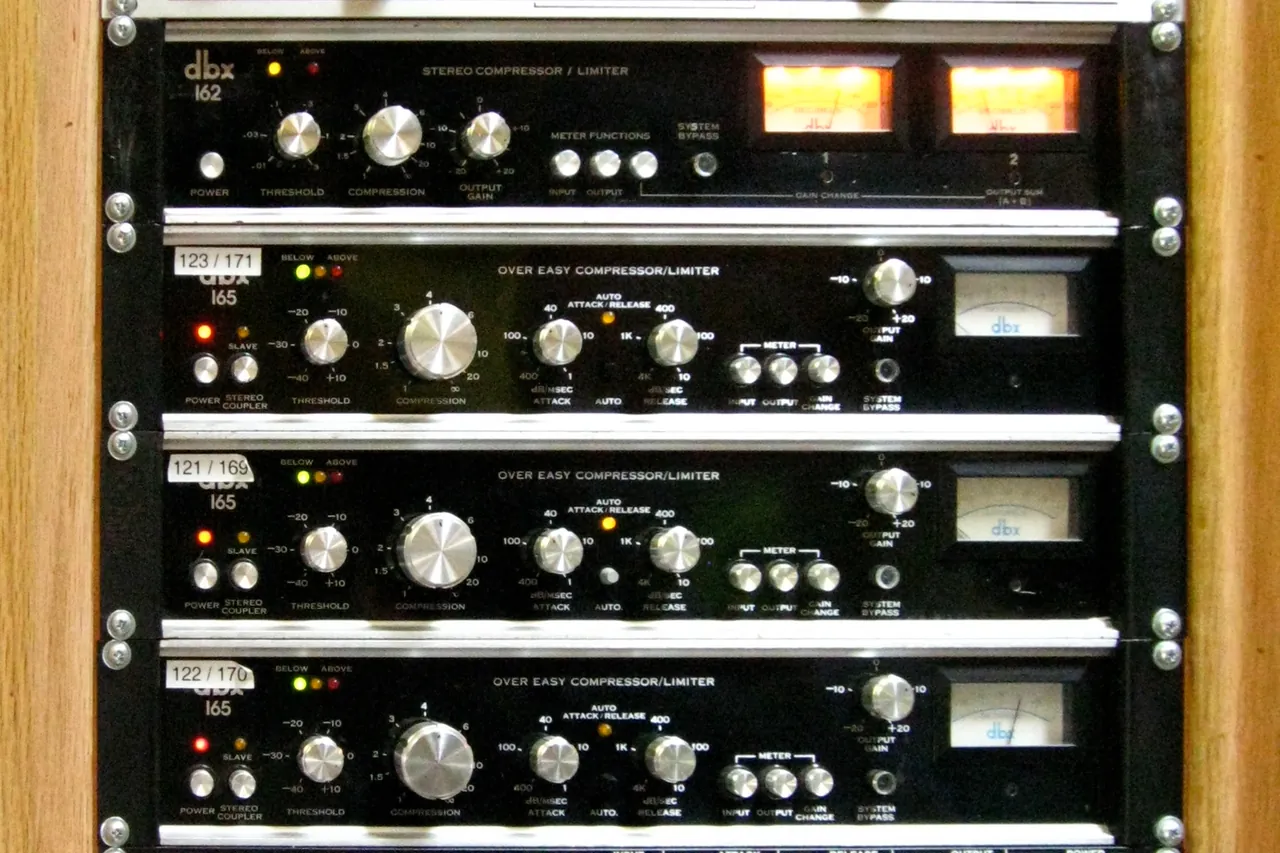
- dbx audio compressors on a rack: eyeliam, CC BY 2.0, Wikimedia Commons. Cropped and resized by KRIG Audio.
Questions on this topic
A clipper can work well when isolated snare or kick peaks stand above the rest of the kit, because it reshapes those brief peaks without the gain recovery of a conventional limiter. Clipping also creates distortion, though, and too much can weaken the attack or make cymbals brittle. Compare both at a similar peak target and matched playback loudness, then check the drum bus in context.
Sometimes. Light clipping before limiting can reduce the highest peaks so the limiter doesn't need to react as strongly, especially on dense material. It can also add distortion that the limiter won't remove. If the mix already reaches the desired loudness cleanly with one processor, adding the other may only make it worse.
No. Oversampling can reduce the aliasing produced by nonlinear processing, but the harmonic distortion created by clipping remains. The amount of improvement depends on the algorithm, oversampling filters and source material. It also doesn't guarantee a true-peak ceiling, so check the rendered output with a true-peak meter.
A sample-peak meter reads the highest stored digital sample, while a true-peak meter estimates the level of the waveform between samples. An export can stay below 0 dBFS in its samples yet reconstruct with a higher peak. For final delivery, distinguish a sample-peak ceiling from a true-peak limiter and check the result after processing and export.